Replace a bad hard drive on a Synology DiskStation RAID 5 with DSM 5.0
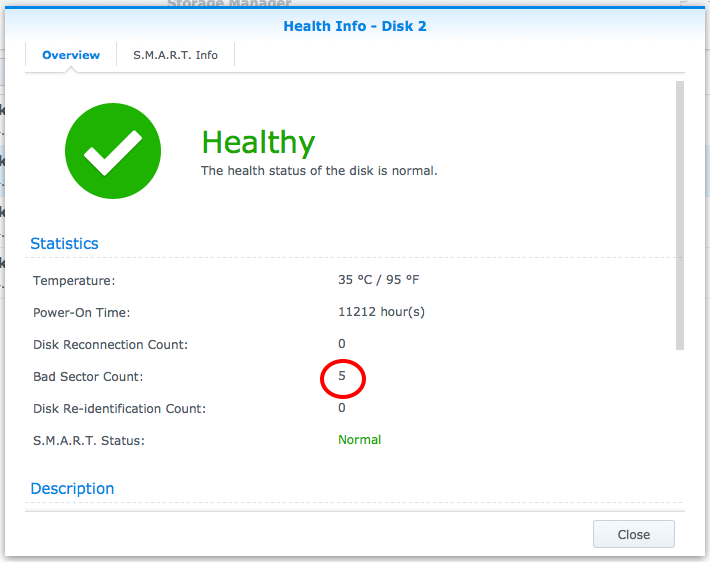
I received an alert from my Synology RAID regarding a few bad sectors on a hard drive. Even though the RAID is still operational, it’s best practice to replace the hard drive before any data gets corrupted due to the bad sectors.
My Setup
- Synology DS413
- DSM 5.0
- 4x Western Digital 3TB Caviar Green
Tip: It’s best to purchase an extra disk when initially configuring your RAID.
While I can still find WD 3TB Caviar Green drives online, they are not the same.
Some are actually smaller than others by a few megabytes even though they are
labeled 3TB. To rebuild your RAID, you will need a disk with the exact size or
more. Trying to replace it with a drive that is just 1mb smaller will not work.
Your hard drive manufacturer will release a few different versions of the same
drive model while the space may fluctuate in megabytes.
I tried finding a close match by using the physical date on the drive but even a ones that I found with a month difference were smaller. While it was not impossible to find another WD Caviar drive, it was a long and annoying search.
Lets fix it!
Edit: I think it’s best to remove the drive sooner rather than later and run your system (if necessary) with only the good drives. I shut down my DiskStation and physically removed the bad drive from the array. I did this because I did not want to chance data being written to the a bad sector which would then make it corrupt. I then powered on my DiskStation only when I needed something from it. I do not recommend leaving it on with a disk removed because now it technically has a higher chance of failure.
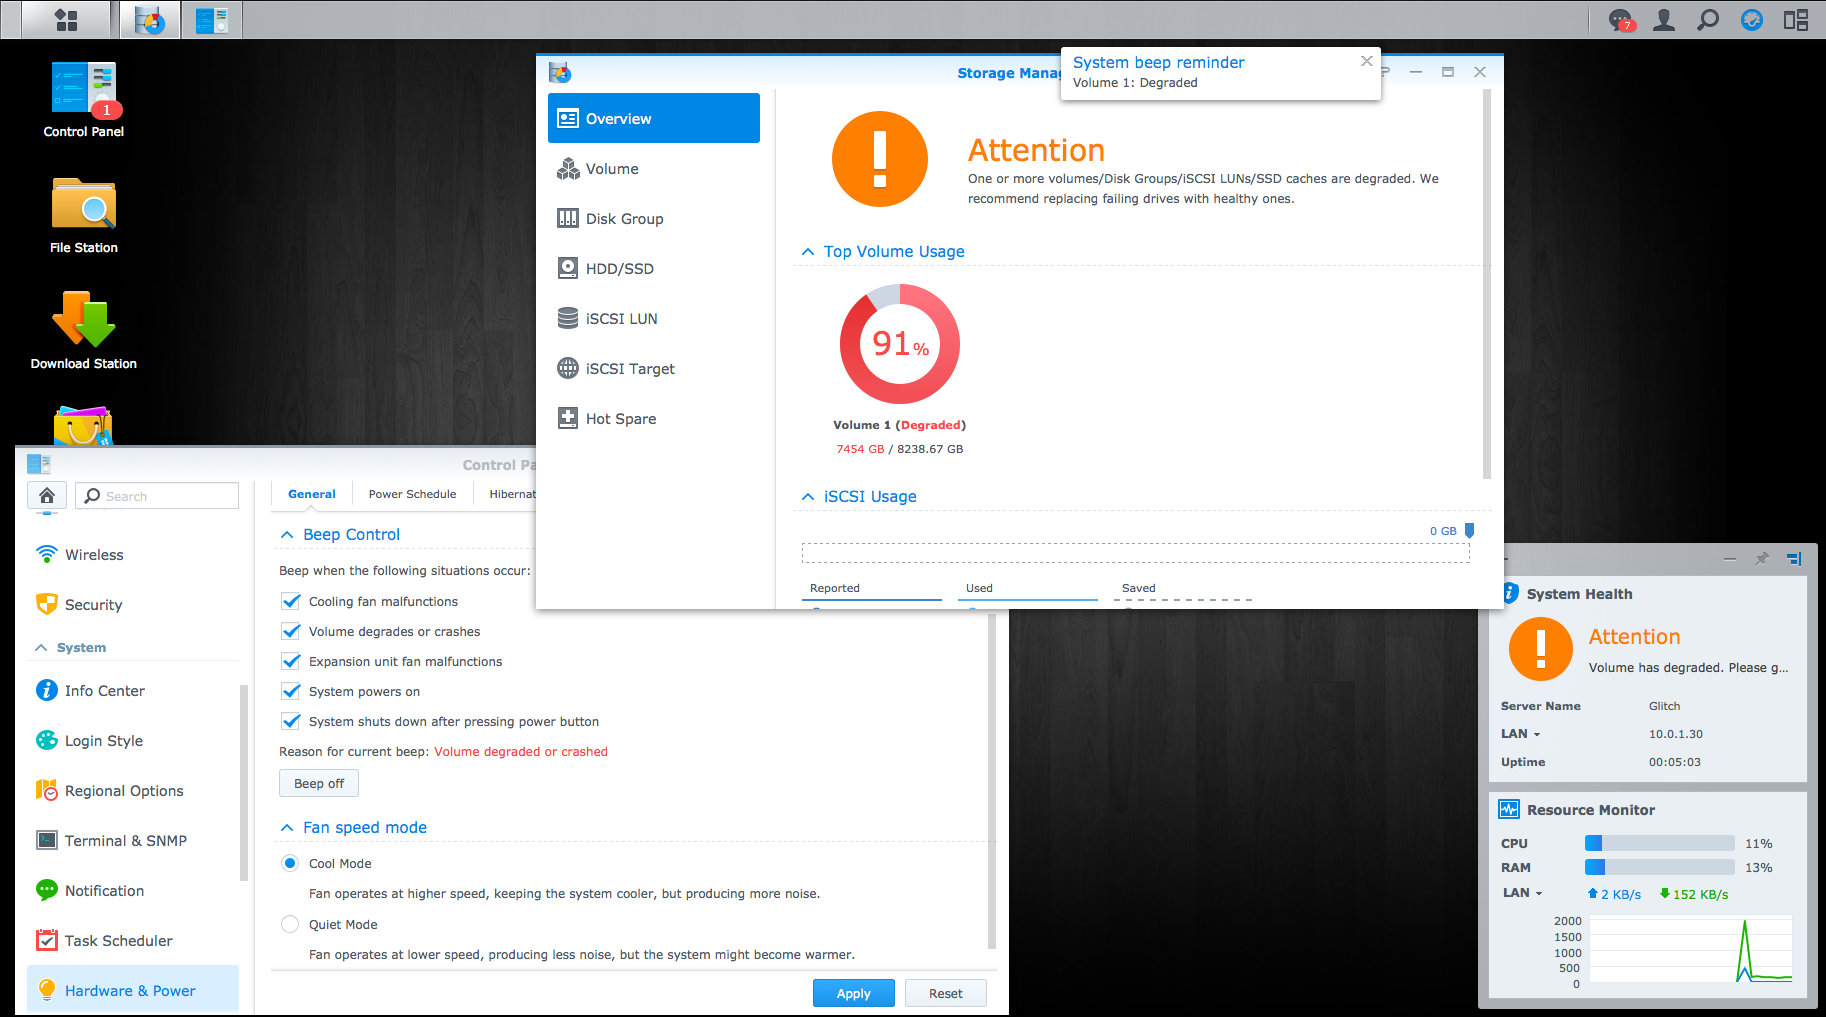
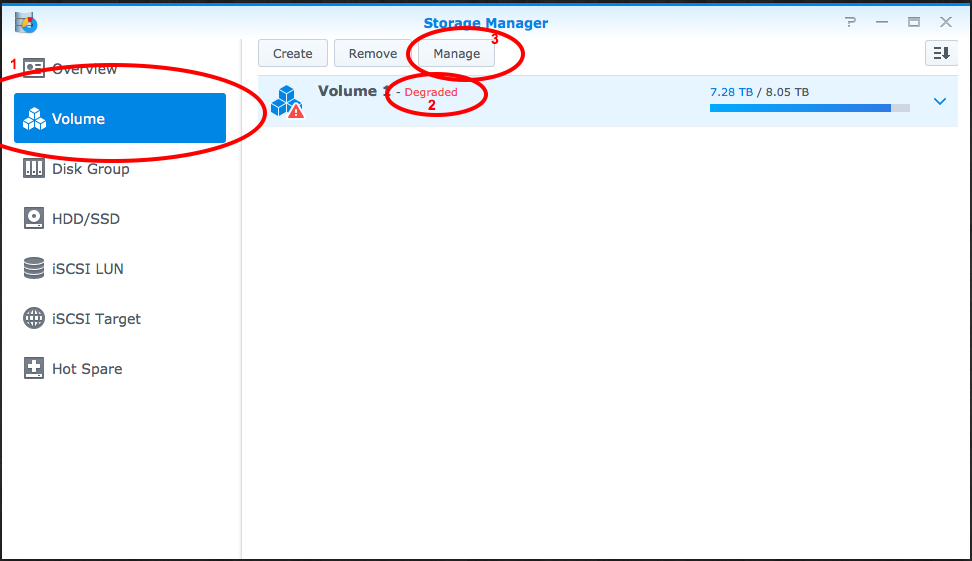
1) Upon logging into your DiskStation, you will be prompted with a series of alerts. The topmost screen, Storage Manager, will tell your RAID is degraded. Your system will literally beep continuously until you click the “Beep Off” button in your Control Panel. Your System Health panel will also try to gain your attention.
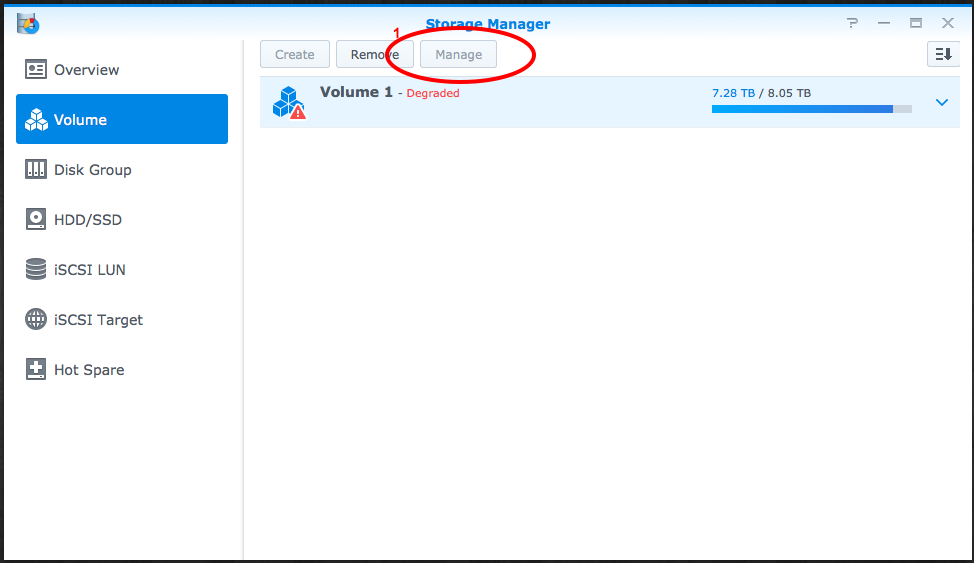
2) From your Storage Manager, click on Volume. You will notice that the Manage button will be disabled until you replace the failed drive with a disk of the same size or bigger.
Note: Be sure to power your down your DiskStation when swapping out the drives. Do not try and do this with it running.
3) After you replace your drive, the Manage button will no longer be disabled. Click on that.
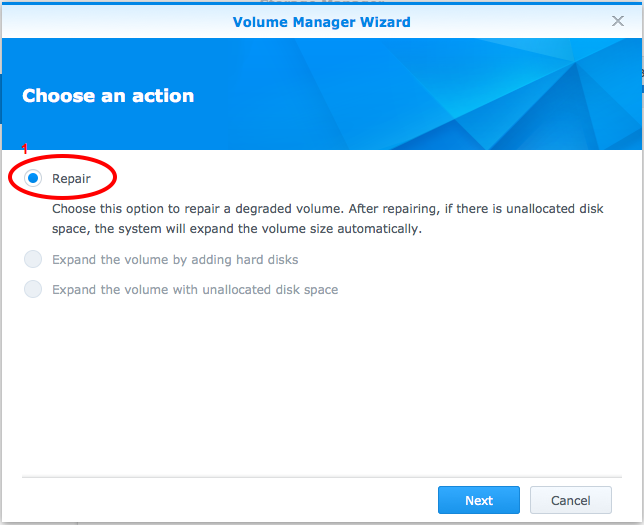
4) Click the Repair radio button and then Next.
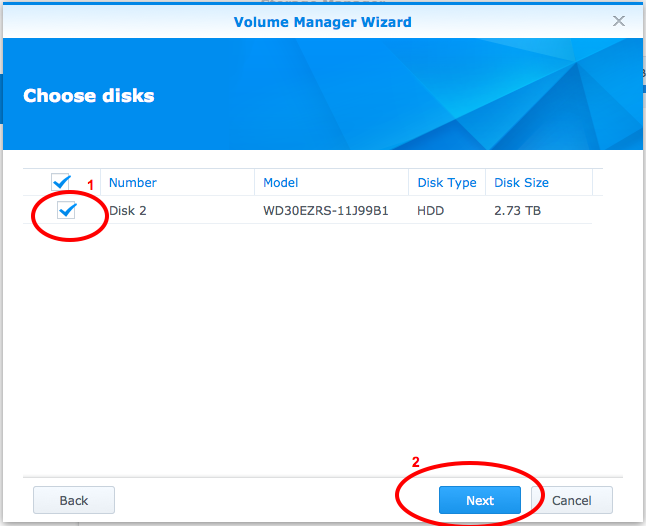
5) Select the correct disk in your system to use for the RAID and click Next.
6) You will be prompted with a warning before you continue. Make sure you’re ok with destroying all the current contents of the selected disk and click Ok if you are.
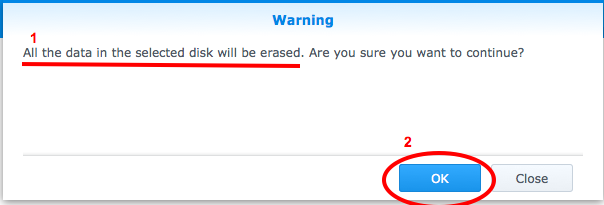
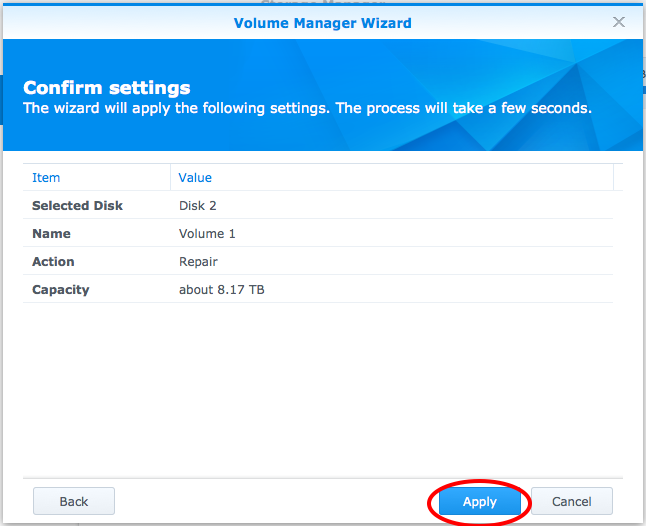
7) And one more window to confirm that you are ok with the warning. Click Apply.
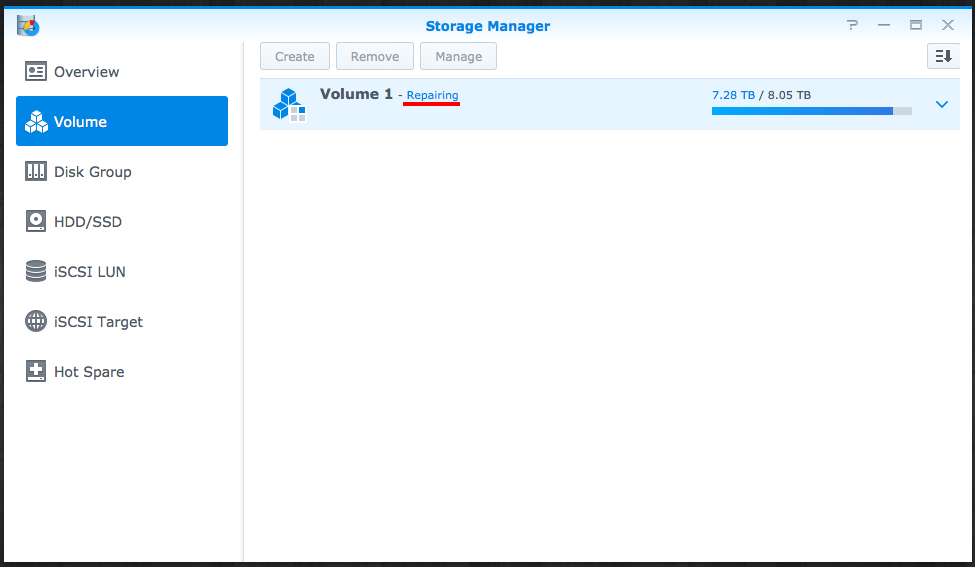
8) You will be brought back to your Storage Manager panel while it’s under repair. This took about 12 hours for it to complete. I imagine the process could take longer if you are actively using it while it’s under repair. If possible, try not to.
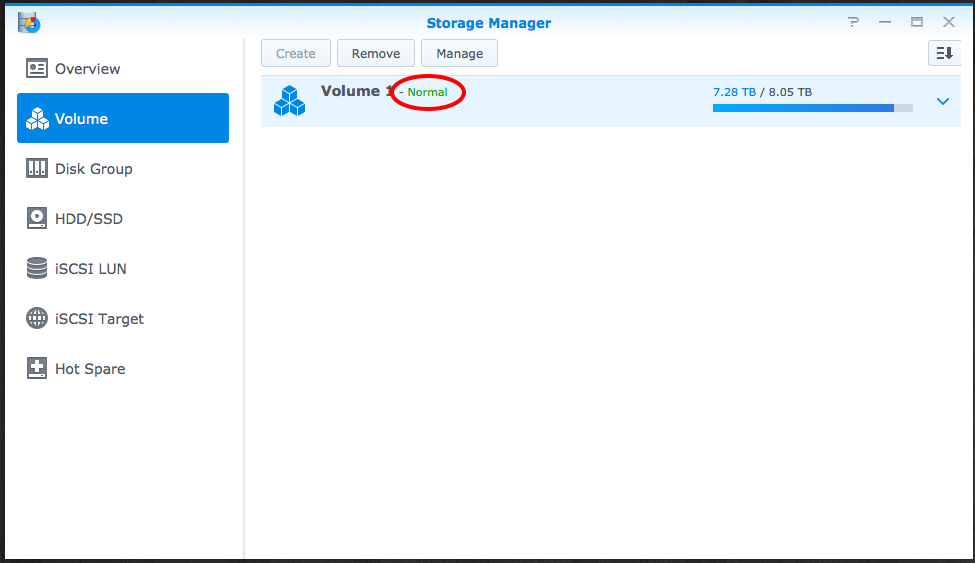
9) When complete, your volume should say Normal next to it.
Conclusion
The most important things to note from this are the following:
- Have a spare drive on standby. Always.
- Completely shut down your DiskStation when swapping your drive.
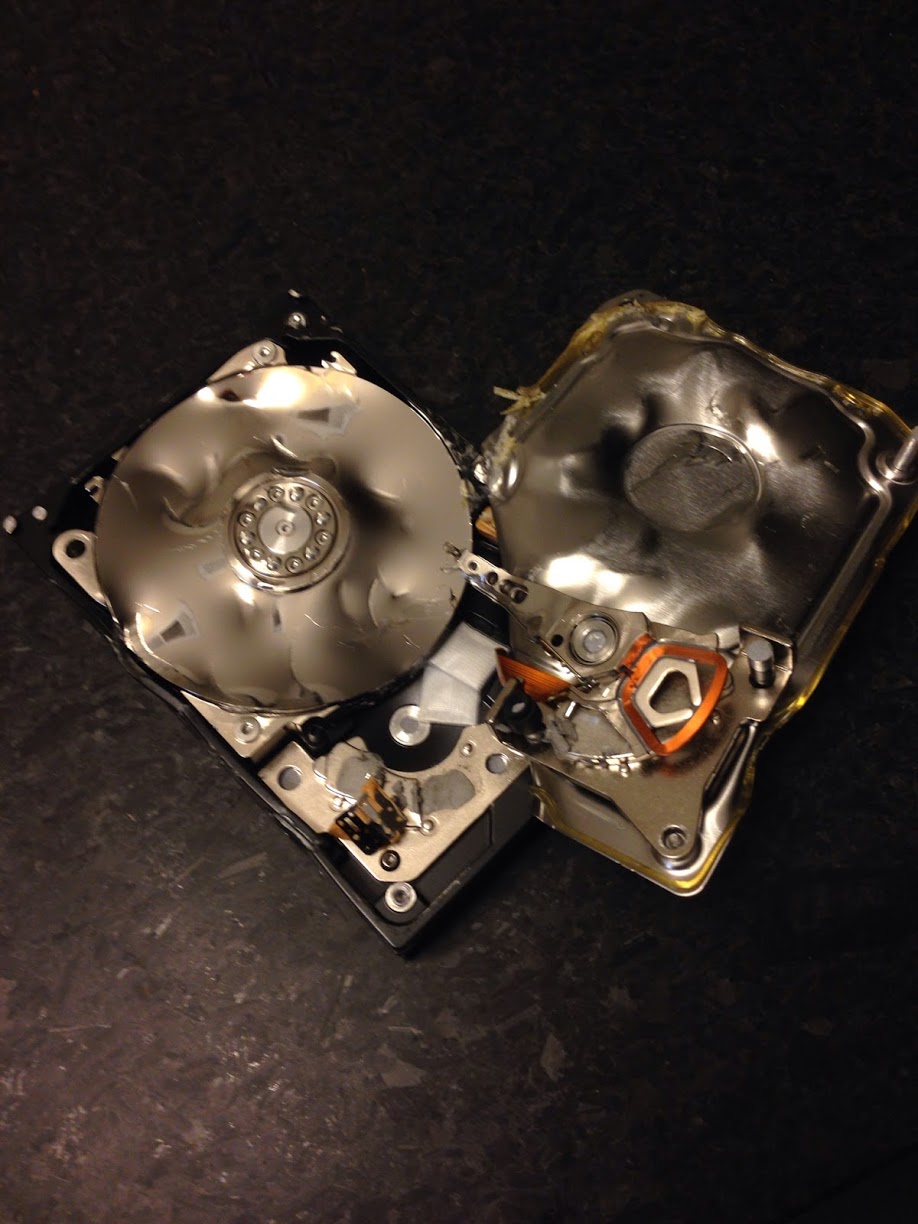
And last but not least, properly dispose of your bad hard drive correctly so any data is not recoverable: